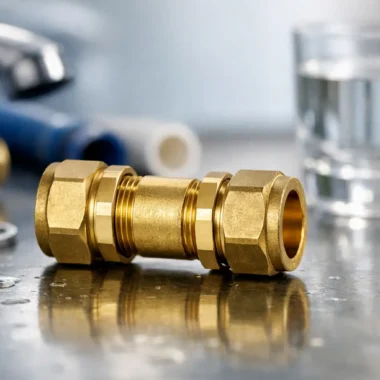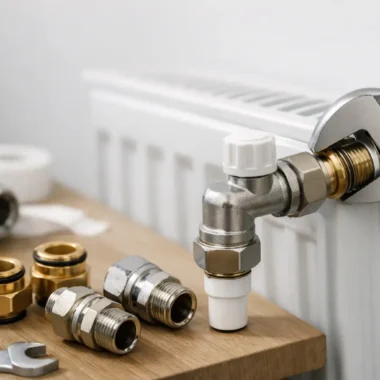
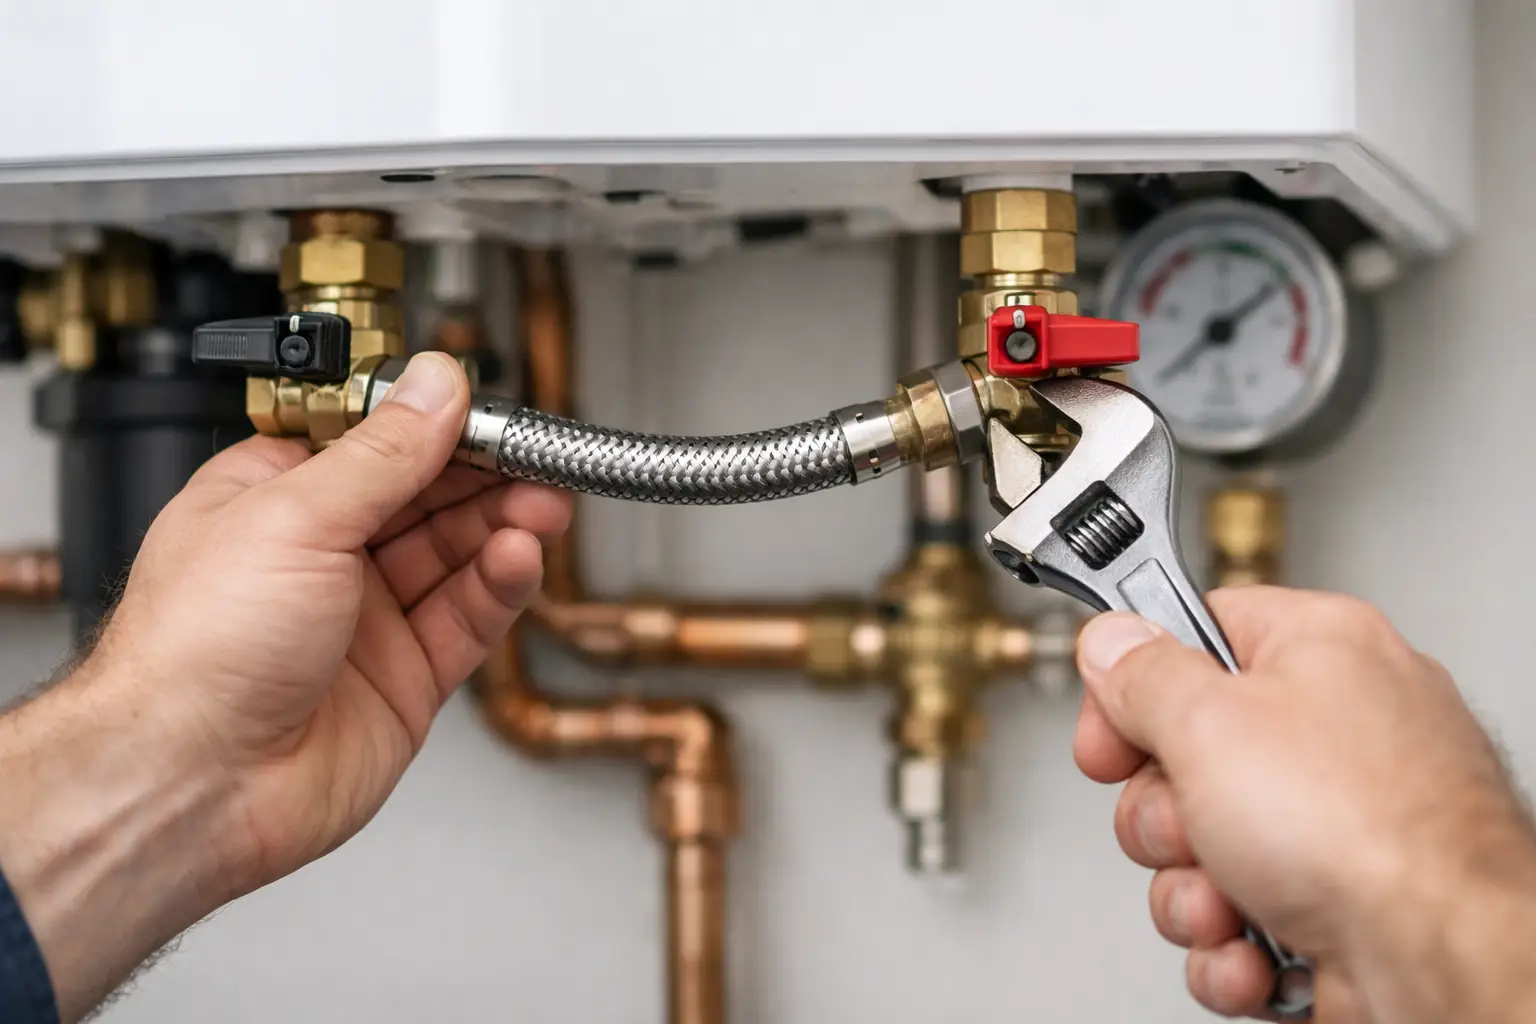
A filling loop is a small assembly, but fitting the wrong one – or leaving it permanently connected – can create avoidable leaks and contamination risks. If you need to know how to fit a filling loop, start by identifying the boiler and heating-system arrangement. The correct method differs between an external braided loop, a built-in filling key and a boiler with an integral filling valve.
This guide covers a conventional external filling loop on a sealed domestic central-heating system. It is suitable for competent installers and capable DIY users working on the water side of a system. If there is any doubt about the boiler connection, backflow protection or a fault causing repeated pressure loss, use a qualified heating engineer.
What a filling loop does
A sealed heating system needs sufficient water pressure to circulate correctly. The filling loop provides a temporary connection between the mains cold-water supply and the heating circuit, allowing the system to be filled or topped up.
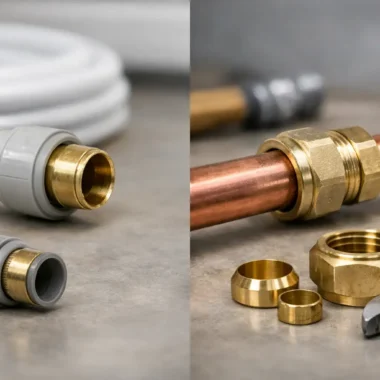
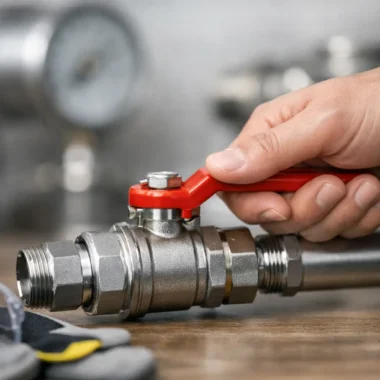
Most external loops use a flexible braided hose with two isolation valves. One side connects to the cold mains supply and the other to the heating return or boiler filling connection. A double check valve is normally required to protect the drinking-water supply from backflow. The precise valve arrangement depends on the boiler manufacturer’s instructions and the existing pipework.
Do not confuse a filling loop with a condensate connection, pressure-relief discharge pipe or gas connection. Boiler pipework can be tight and poorly labelled, particularly where a replacement boiler has been fitted onto older services. Trace each pipe before making a connection.
Before you fit a filling loop
Read the boiler installation manual first. Manufacturers specify the permitted filling method, connection locations and cold fill pressure. Many modern boilers have an integral filling device, often operated with a key, lever or pair of small controls beneath the appliance. Adding an external loop to these systems may be unnecessary and may not be permitted by the manufacturer.
For a standard external arrangement, check that you have a suitable cold-water take-off and a heating-system filling point. The fittings must match the existing connections, which are commonly 15 mm compression or threaded connections. Do not force a hose onto an incompatible thread or rely on excessive PTFE tape to make a joint work.
A typical installation requires a WRAS-suitable filling loop assembly or separate approved components, two service valves, a double check valve where not already incorporated, compatible pipe fittings, jointing materials appropriate to the connection type, and a pressure gauge you can read clearly. You will also need adjustable spanners, grips or suitable open-ended spanners, a pipe cutter if alterations are required, and cloths for residual water.
Isolate the boiler electrically before starting work near its controls or internal connections. Allow the appliance and system to cool. Filling a hot system makes pressure readings less reliable and increases the chance of injury from hot pipework or water.
Check why the pressure is low
A one-off top-up after radiator bleeding is normal. Pressure that repeatedly falls is not. Before installing a filling loop, look for weeping radiator valves, damp patches around compression joints, discharge from the pressure-relief pipe, or signs of a failed expansion vessel.
A filling loop only restores pressure. It does not fix the reason pressure was lost. Repeatedly adding fresh water can also introduce oxygen and accelerate internal corrosion, so it is not a long-term remedy for a leaking system.
How to fit a filling loop on a sealed system
First, isolate the cold-water supply at the chosen service valve. Drain or catch the small amount of water held in the section of pipe where you are working. If you are replacing an existing loop, close both valves, remove the flexible hose and inspect the mating faces, washers and threads for damage.
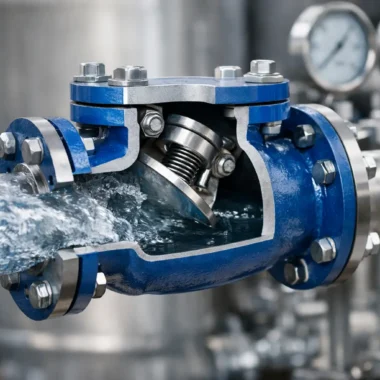
Fit the cold-water-side isolation valve and check valve in the correct direction. The arrow on a check valve shows the permitted direction of water flow – it should point from the mains supply towards the heating system. This detail matters. A reversed check valve will stop filling, while missing or unsuitable backflow protection can compromise the water supply.
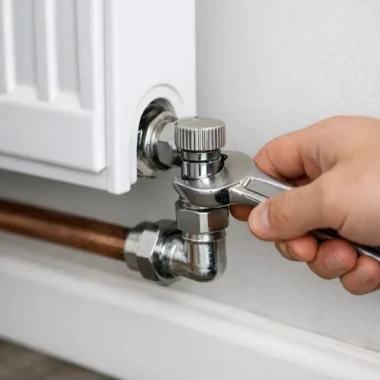
Install the heating-side service valve at the designated system filling point. On many installations this is close to the boiler, but it may be fitted on heating pipework elsewhere. Keep valves accessible. A loop hidden behind a boiler casing, kitchen unit or boxing-in is difficult to inspect and encourages poor practice later.
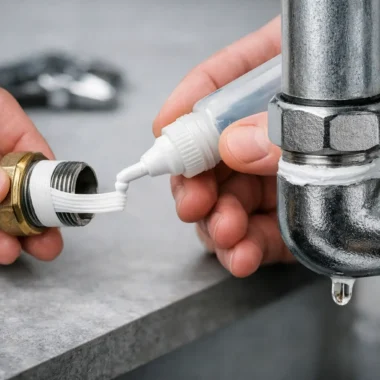
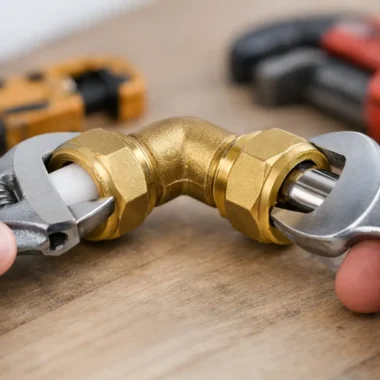
Make compression joints cleanly. Cut pipe square, remove burrs and make sure the pipe is fully inserted before tightening. Use a new olive where appropriate. Tighten compression nuts firmly but do not overtighten them; crushed olives and damaged threads are common causes of slow leaks. For threaded connections, use the sealing method specified for the fitting, such as a suitable fibre washer, bonded seal or PTFE tape where the thread type requires it.
Once the fixed fittings are secure, attach the braided hose between the two valves. Check that the hose is not kinked, stretched or rubbing against sharp edges. The hose should be long enough to make the connection without strain, but not so long that it sits on the floor or gets caught on other pipework.
Fill the system carefully
With the loop fitted, open the cold-water-side valve slowly, then crack open the heating-side valve. Watch the boiler pressure gauge throughout. On a cold domestic system, the usual target is around 1.0 to 1.5 bar, but always follow the boiler manufacturer’s stated cold-fill pressure.
Do not overfill. As the system heats, pressure rises. A system filled too high when cold may lift the pressure-relief valve when hot, causing water to discharge outside and creating another pressure-loss issue. If pressure rises beyond the target, bleed a small amount of water from a radiator or suitable drain point, then recheck the gauge.
When the correct pressure is reached, close the heating-side valve first and then the cold-water-side valve. This sequence helps prevent mains water continuing to feed the heating circuit if a valve is not fully shut.
Test every joint before putting the boiler back into service
Dry each connection with a cloth and inspect it closely. A joint can appear sound while a small bead of water forms under pressure. Leave the system pressurised for several minutes and check around the hose ends, service valves, check valve and any compression joints altered during the work.
Turn the boiler back on and run the heating. As the system warms, monitor the pressure gauge. A modest increase is expected. A rapid climb towards 3 bar can point to an expansion-vessel problem rather than an issue with the loop itself.
After the system has cooled again, check the cold pressure. If radiators were bled after filling, a final small top-up may be needed. Check all joints once more after that top-up.
Should the filling loop stay connected?
In most domestic installations, the flexible filling loop should be disconnected after the system has been filled and both valves have been closed. This keeps the mains and heating circuits physically separated and makes it obvious if either valve begins passing.
Some systems have a permanent, approved filling arrangement designed into the installation. Do not alter or remove it simply because another property has a detachable hose. Follow the boiler instructions and the requirements applying to the specific installation.
Store a detached hose clean and dry, preferably with its sealing washers protected. If the hose has flattened washers, corrosion around the ferrules or a damaged braid, replace it rather than reusing it.
Common fitting problems
If the system will not take water, check that both isolation valves are open and that the check valve points towards the heating circuit. Also confirm that you are connected to a live mains cold-water supply rather than a dead leg or an isolated appliance feed.
If pressure rises but immediately drops again, inspect for visible leaks and check the external pressure-relief discharge pipe. Water from this pipe after heating can indicate that the relief valve has opened, often because the system was overfilled or the expansion vessel needs attention.
If a new compression joint weeps, do not keep tightening it in small increments until the nut is damaged. Isolate, depressurise the relevant section, dismantle the joint and inspect the pipe end, olive and seating. Reassemble with the pipe properly aligned.
For replacement loops, valves and compatible pipe fittings, Mepstock stocks the practical connection components needed for domestic heating work. Match sizes, thread types and approval requirements before ordering so the installation can be completed without a second visit.
A correctly fitted filling loop should be easy to operate, easy to inspect and used only when the system genuinely needs water. Set the pressure cold, remove the temporary hose where required, and treat any ongoing pressure loss as a fault worth finding rather than a reason to keep topping up.