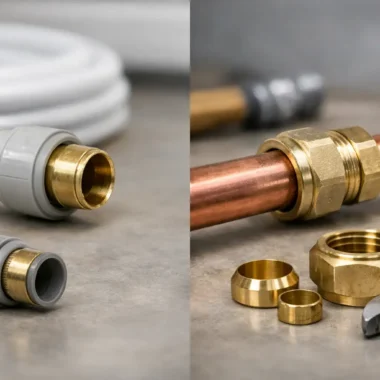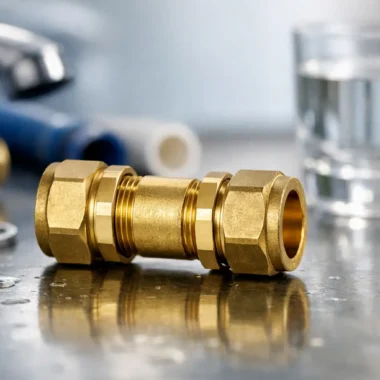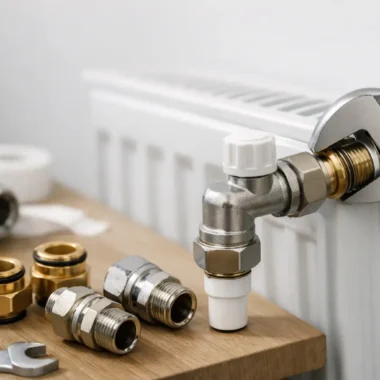
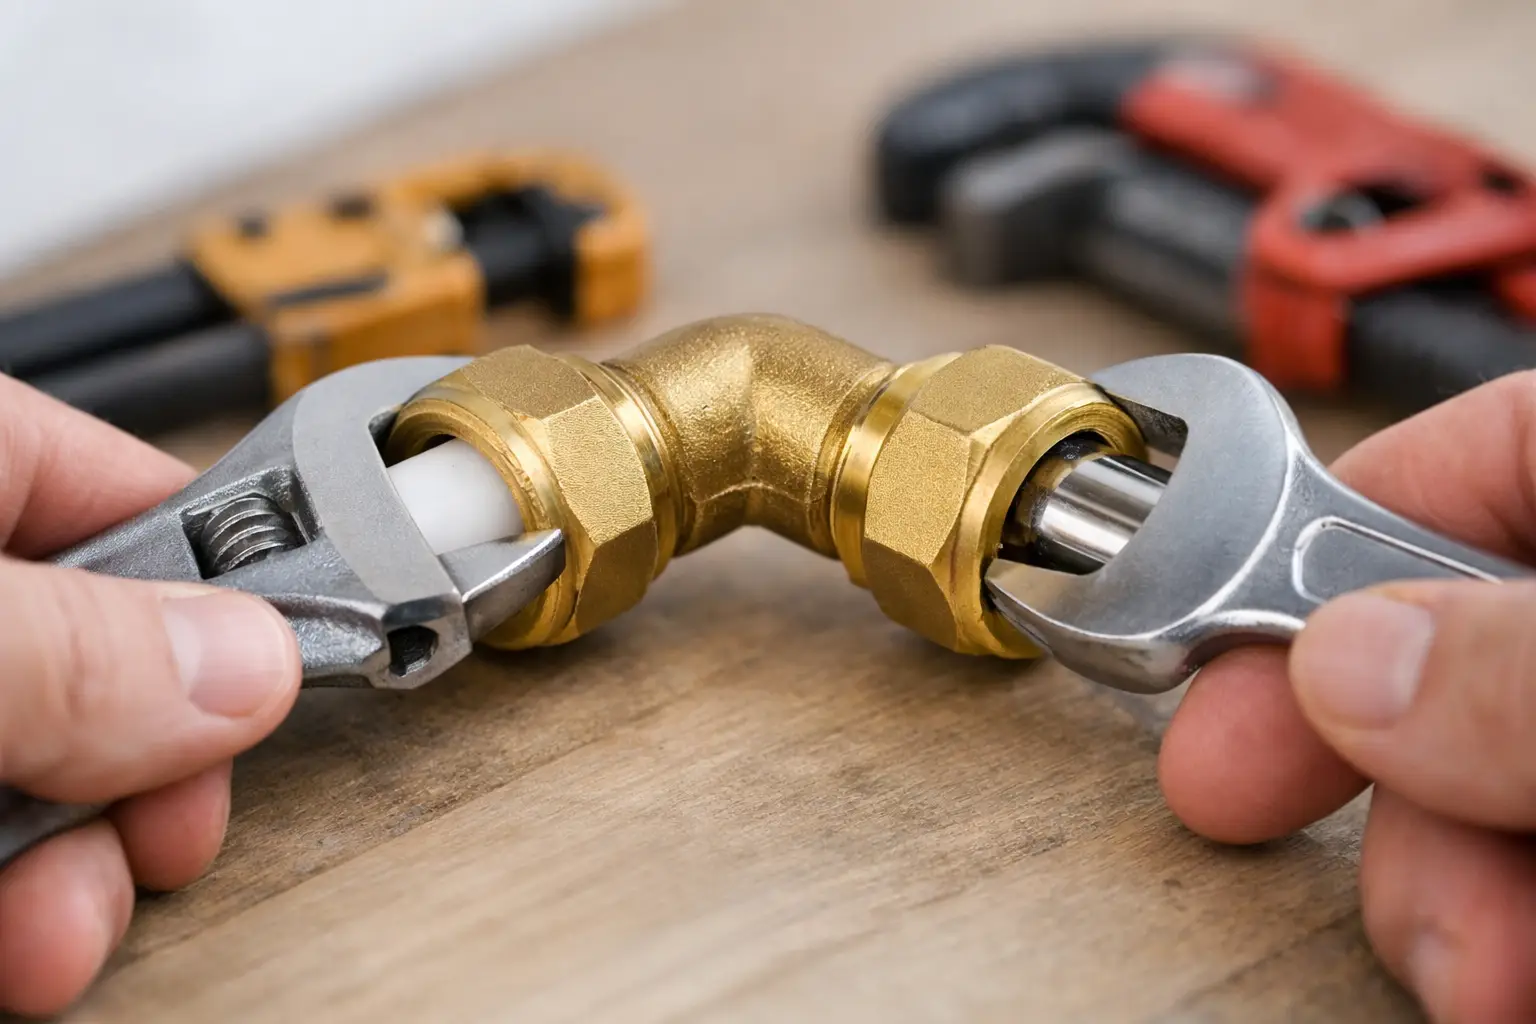
A brass compression elbow is a practical answer when a copper pipe needs to change direction without soldering. It is quick to fit, serviceable and suited to many domestic water and heating repairs – provided the pipe is prepared properly and the fitting is not overtightened. This guide explains how to install brass compression elbow fittings for a sound, accessible connection.
Compression fittings are familiar territory for professional installers, but they are also forgiving enough for competent DIY work. The common failures are rarely caused by the elbow itself. They usually come down to a pipe cut that is not square, a burr left on the end, an olive fitted in the wrong position or a nut tightened far beyond what the fitting needs.
Check the elbow and pipe are compatible
Before cutting anything, confirm the fitting size and application. Most brass compression elbows for UK plumbing are sized for copper tube outside diameter, such as 15mm or 22mm. A 15mm elbow is intended for 15mm pipe, not the internal bore measurement.
A standard equal elbow joins two pipes of the same size. A reducing elbow joins different sizes, for example 22mm to 15mm. Check whether you need a 90-degree change of direction, rather than a swept bend or a different fitting arrangement. The route matters: forcing pipework into position can leave strain on the joint and make a reliable seal less likely.
For potable water installations, select components suitable for drinking-water use where required. For heating systems, ensure the fitting and any jointing compound are compatible with the system fluid. Compression fittings are widely used on copper pipework, but the exact product specification still matters for the intended service, temperature and pressure.
If connecting plastic pipe, do not assume the same procedure applies. Use the correct pipe insert, olive and compression fitting approved for that pipe system. Plastic pipe must be cut cleanly and fully supported, particularly close to the elbow. Many standard brass elbows are best considered copper-pipe fittings unless their specification states otherwise.
Tools and materials for fitting a brass compression elbow
You will need a suitable pipe cutter, deburring tool or reamer, two adjustable spanners or correctly sized open-ended spanners, a tape measure and a cloth. Keep a marker pen to hand for measuring insertion depth and alignment.
You will also need the brass compression elbow, the correct size copper pipe and its supplied nuts and olives. A small amount of approved jointing compound can be useful on the olive where appropriate, but it is not a substitute for good preparation. PTFE tape is generally not used on the compression threads. The seal is made by the olive compressing onto the pipe, not by the thread.
Isolate the water or heating circuit before starting. Open a tap or drain point to release pressure and drain the relevant section of pipework. If the pipe is part of a central-heating system, use suitable controls to limit water loss and be prepared to repressurise the system afterwards.
How to install a brass compression elbow step by step
1. Plan the pipe position
Offer the elbow and pipe sections into place before cutting. Check that both lengths of pipe will enter the fitting straight and fully. There should be enough clearance to tighten the nuts with a spanner and enough access to inspect the joint later.
Avoid positioning a compression elbow where it will be permanently hidden behind a wall, under a solid floor or in another inaccessible location unless the installation method and applicable building requirements allow it. Compression joints are mechanical and may need future inspection or maintenance. Accessible pipework is always easier to test and repair.
2. Cut the pipe square
Measure carefully and mark the pipe. Cut it with a proper pipe cutter where possible. A square cut lets the pipe meet the internal stop evenly and helps the olive compress consistently around its full circumference.
Do not use a hacksaw unless there is no suitable alternative. A hacksaw can leave a rough, angled edge that needs more careful finishing. If one is used, make the cut as square as possible and remove every trace of swarf before assembling the fitting.
3. Deburr and clean each pipe end
Ream or deburr the inside of the cut pipe, then remove sharp edges from the outside. This is a small step with a large effect. Internal burrs restrict flow and can create noise in the system, while external burrs may damage the olive or prevent it from seating correctly.
Wipe the pipe clean. The section entering the elbow should be free from paint, corrosion, flux residue, deep scratches and dirt. If you are repairing existing pipework, clean back to bright, smooth copper where practical. A compression olive cannot reliably seal over a badly scored or misshapen pipe.
4. Fit the nut and olive in the correct order
Slide one compression nut onto the first pipe, with the threaded end facing the elbow. Then slide on the olive. Repeat on the second pipe.
Push the pipe into one side of the elbow until it reaches the internal pipe stop. Hold it there while sliding the olive and nut up to the fitting body. Start the thread by hand. The nut should turn smoothly for several threads. If it cross-threads or feels tight immediately, stop, remove it and realign the pipe.
Fit the second pipe in the same way. Check the elbow orientation before tightening. Once an olive has been compressed, changing the angle of the fitting usually means cutting back the pipe or replacing the olive.
5. Tighten without overtightening
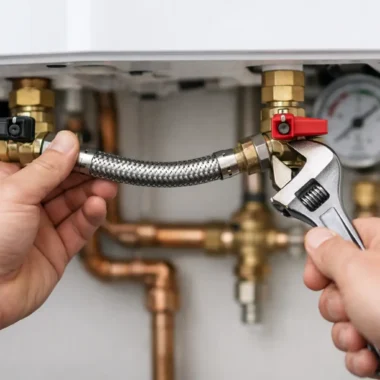
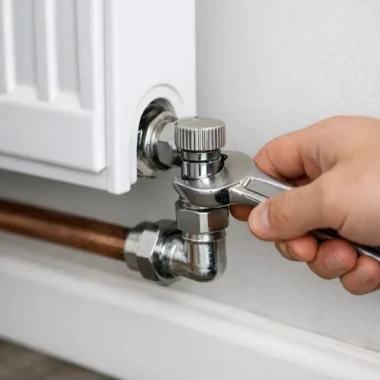
Hold the body of the brass elbow with one spanner and tighten the nut with the other. This counter-hold is essential. It prevents torque being transferred into the pipework or loosening another nearby joint.
There is no universal number of turns that suits every manufacturer, pipe condition and fitting size. As a working approach, tighten hand-tight first, then use a spanner for a controlled further turn. Many installers use around one full turn beyond hand-tight as a starting point for a new 15mm or 22mm compression joint, then assess it during testing. Follow the fitting manufacturer’s instructions where they are supplied.
Do not keep tightening simply because a joint looks as though it might leak. Over-compressing the olive can distort it, mark the pipe excessively and make later disassembly difficult. If a new joint weeps during testing, a small additional adjustment may be enough. If it continues to leak, depressurise it and inspect the assembly rather than applying force.
6. Test the joint under pressure
Once both nuts are tightened, restore the water supply slowly or refill the heating circuit. On a water line, open the isolation valve gradually and allow pressure to build. On central heating, refill to the system’s normal cold pressure and vent air as required.
Dry the fitting with a cloth, then inspect both ends closely. Run a dry piece of tissue around each nut and the back of the fitting. Even a very small weep will show up. Leave the system pressurised long enough to check again, especially where the pipework will be boxed in or covered by a cabinet.
For heating work, inspect again when the system is up to operating temperature. Heat cycles can reveal a joint that appeared dry when cold. A connection that remains dry through pressure and temperature changes is far more reassuring than one checked only at the point of refill.
Common reasons a compression elbow leaks
A leak at the nut usually indicates that the olive has not formed an even seal. The pipe may not be fully inserted, it may be cut at an angle, or the olive may have been damaged by a burr. Removing the joint and fitting a new olive is normally better practice than trying to rescue a marked one.
A leak from the pipe itself may be caused by pitting, a scratch or old corrosion hidden beneath the olive. Cut back to sound pipe if there is enough length. Where pipework is badly corroded or too short to remake cleanly, reconsider the repair arrangement rather than relying on sealant.
Misalignment is another frequent issue. Compression fittings should not be used to pull two pipes together or correct a poorly supported run. Clip and support the pipework so the elbow sits naturally, with no side load on either nut.
When a compression elbow is the right choice
Brass compression elbows are particularly useful for repair work, alterations near existing finished surfaces and locations where hot works are unsuitable. They can also be disconnected later, which is useful around valves, cylinders, appliances and serviceable equipment.
They are not automatically the best choice for every job. Press-fit, soldered or push-fit systems may be preferable where the pipe layout, access, manufacturer system requirements or installation specification calls for them. On gas pipework, use fittings specifically approved for the application and only carry out work if you are competent and legally permitted to do so.
For a straightforward copper-pipe alteration, the key is not speed alone. Use the right-sized elbow, make square and burr-free cuts, keep the pipework aligned and test the joint properly before leaving it. Stocking the correct brass compression fittings, olives and compatible pipe sizes before starting saves the return journey and gives the repair the best chance of staying dry.