A lockshield valve may look like the less important valve at the bottom of a radiator, particularly beside a thermostatic radiator valve. It is not. Fitted and set correctly, it controls the radiator’s flow rate and helps the heating system warm rooms evenly. Knowing how to fit radiator lockshield valve connections properly prevents the usual call-backs: weeping compression joints, crossed threads, poor alignment and a radiator that never balances.
This job is straightforward for a competent DIYer or installer when the pipework, valve type and radiator connection are correctly identified. If the existing system is heavily corroded, the radiator tail is seized, or the heating system cannot be isolated and drained safely, allow for a more involved repair rather than forcing the fitting.
Check the valve and connection before starting
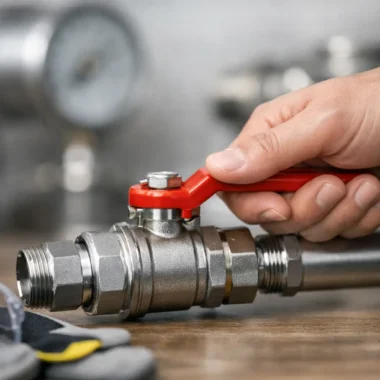
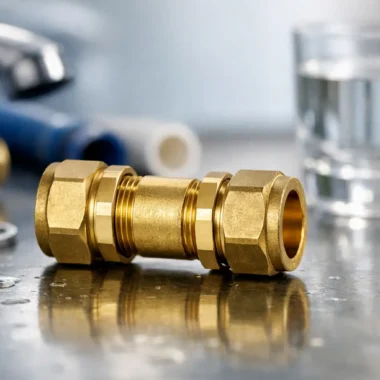
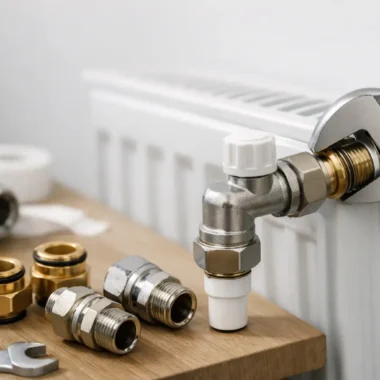
A standard UK radiator lockshield valve usually has a 15mm compression inlet for the heating pipe and a 1/2 inch BSP connection to the radiator tail. The cap covers the spindle, making it less likely to be adjusted accidentally once the system has been balanced.
First, establish whether an angled or straight valve is required. An angled lockshield is normally used where pipework rises from the floor or comes through the wall and needs to turn into the radiator. A straight valve suits pipework entering directly in line with the radiator connection. Also check the pipe size. Most domestic radiator circuits use 15mm copper pipe, but microbore installations may use 8mm or 10mm pipe and need the appropriate valve or reducer arrangement.
The valve should sit on the opposite side of the radiator to the thermostatic radiator valve or manual wheelhead valve. This is the usual layout, although the flow direction and manufacturer instructions still matter for some specialist valve sets. For a replacement, compare the new valve’s dimensions with the old one. A different valve body length can leave the pipe short, put strain on the joint or require the pipe to be altered.
Before beginning, have the lockshield valve, matching radiator tail if needed, compression nuts and olives, an adjustable spanner, grips, radiator bleed key, cloths and a suitable container ready. A pipe slice gives a cleaner result than a hacksaw if pipe alteration is required. Mepstock stocks radiator valve options and connection fittings in the sizes commonly used on domestic and trade heating work.
Isolate and drain the heating circuit
Do not undo a radiator valve on a full, pressurised system. Even a small amount of water released under pressure can damage flooring, stain finishes and introduce air into the circuit.
For a single radiator replacement, turn the existing lockshield fully clockwise while counting the turns. Record this setting so there is a starting point when the radiator is refitted. Close the valve on the other side as well, either by turning the manual valve clockwise or setting the TRV to off or frost protection, depending on its design. The radiator can then be drained locally by opening its bleed point and carefully loosening a valve union, catching the water in a tray.
For a new installation or where both valves are being replaced, drain the relevant heating circuit properly. On a sealed system, switch off the boiler, allow it to cool and use the drain-off point to reduce pressure before opening any connection. On an open-vented system, take account of the feed and expansion arrangement. The exact method depends on the system layout, so do not assume closing two radiator valves makes the circuit safe to dismantle.
Heating water can be dirty and may contain inhibitor. Protect the work area and dispose of any collected water responsibly. Never work on hot pipework or attempt to release pressure from a boiler safety valve.
How to fit a radiator lockshield valve
Fit or replace the radiator tail
If the radiator tail is already sound and matches the new valve, it can often be retained. Inspect the threads, the valve seating face and the condition of the tail. Replace it if it is damaged, heavily corroded or incompatible with the new valve union.
Remove an old tail with a correctly sized radiator tail key or internal hex key where applicable. Avoid using excessive force on an old radiator, especially a painted steel panel radiator, as twisting can damage the connection or loosen the radiator from its brackets.
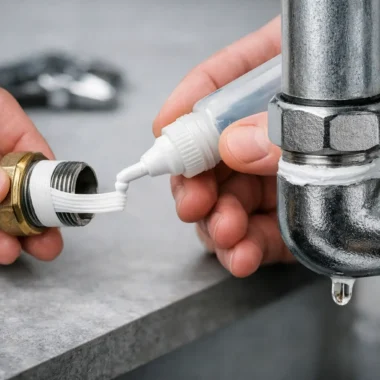
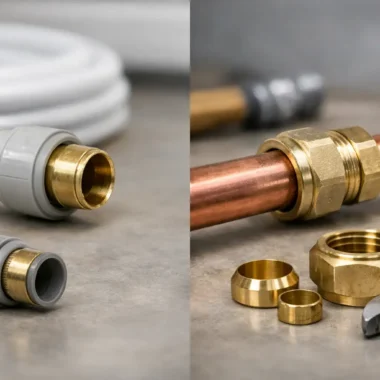
Install the new tail using the sealing method stated by its manufacturer. Many tails are fitted with PTFE tape or an appropriate jointing compound on the radiator thread, while some have a pre-applied sealing treatment. Apply tape neatly in the direction of tightening and keep it off the opening. Do not use PTFE tape on the compression joint between the pipe and valve body. Compression fittings seal through the olive being compressed onto the pipe, not through thread tape.
Prepare the pipe and valve body
The pipe end must be round, clean and free from burrs. If it has been cut, deburr the inside and outside. A distorted or scored pipe can prevent the olive from sealing, even when the compression nut feels tight.
Slide the compression nut onto the pipe first, followed by the olive. Offer the lockshield valve body up to the pipe and radiator tail together. This is the point to check alignment. The valve should meet both connections naturally, without pulling the pipe sideways or forcing the radiator union onto the tail.
If the pipe is slightly out of line, correct the pipework rather than relying on the compression fitting to take up the strain. A joint that is under tension may hold initially but can start weeping after repeated heating and cooling cycles.
Tighten the connections
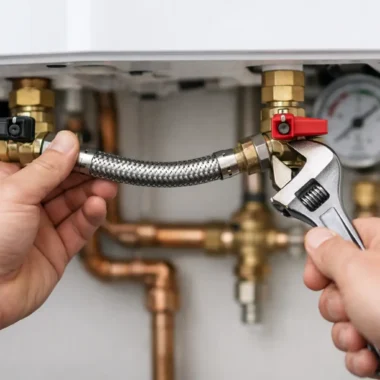
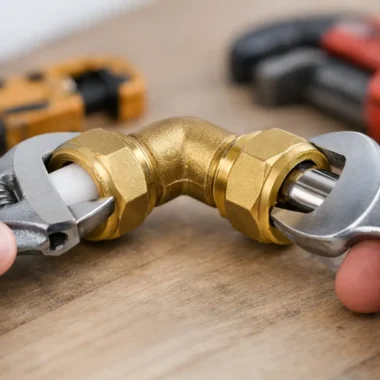
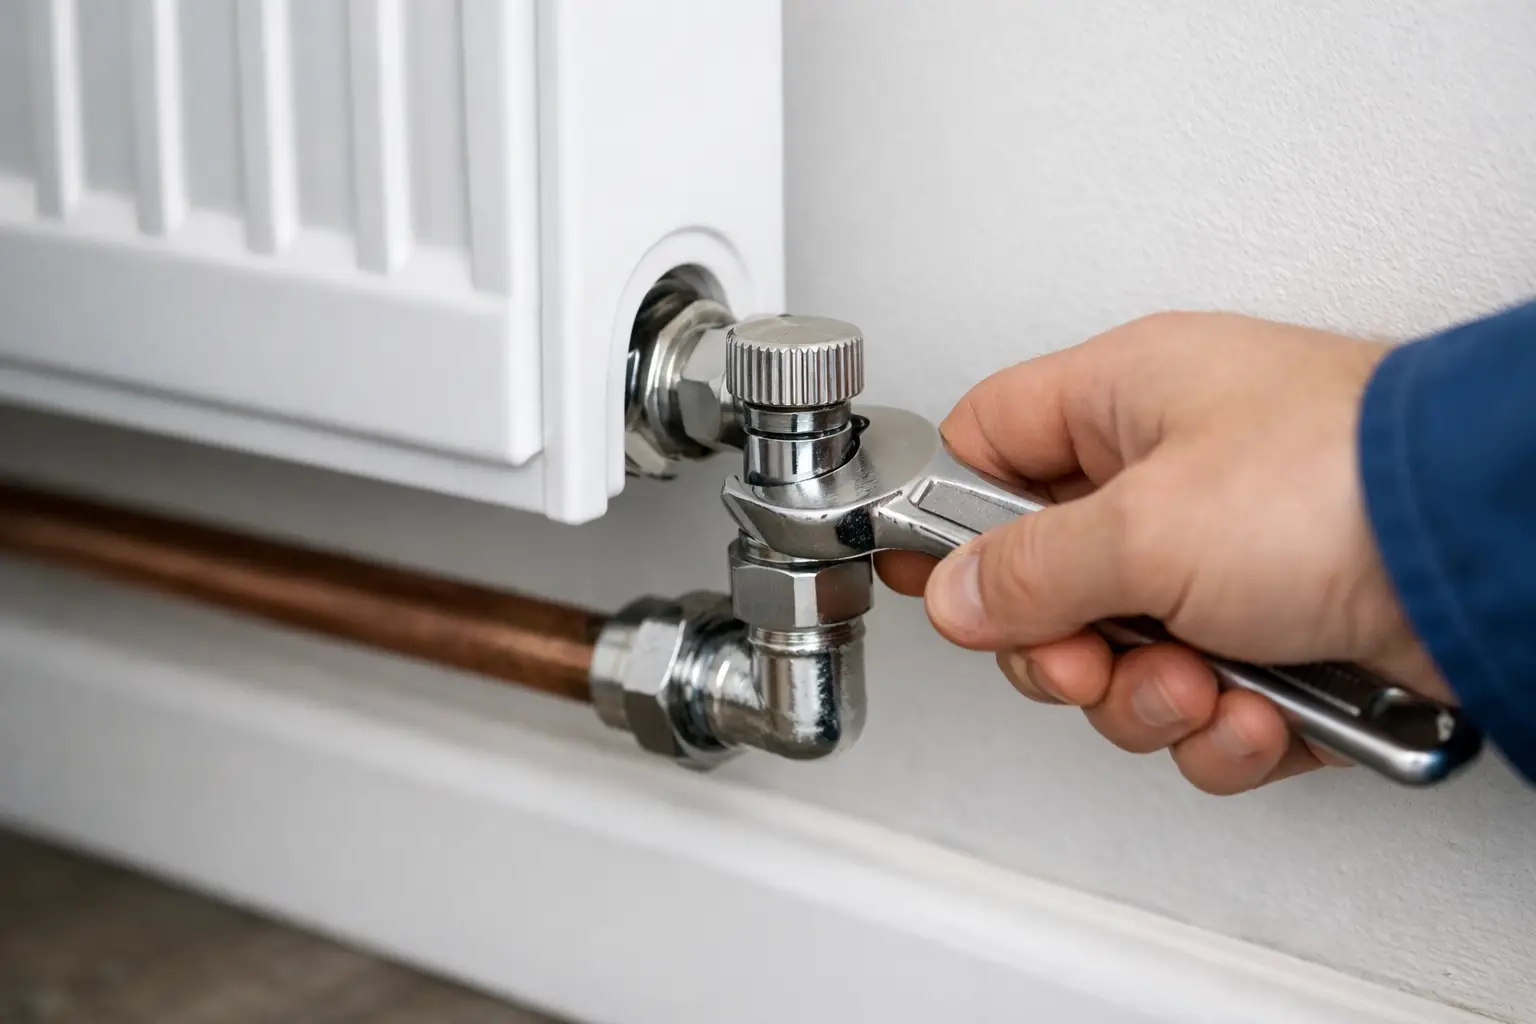
Start both connections by hand. Thread the radiator union nut onto the tail carefully to avoid cross-threading. Then push the pipe fully into the compression socket and tighten the compression nut with a spanner while holding the valve body with a second spanner.
There is no universal number of turns for a compression fitting. Tighten until the olive has seated and the connection is firm, then test it under pressure. Over-tightening can crush the olive, distort the pipe or make a future replacement unnecessarily difficult. If a joint leaks slightly after testing, tighten it in small increments rather than applying excessive force immediately.
Ensure the lockshield cap can be removed and refitted once the valve is in place. It should not be trapped against a skirting board, wall or pipe, as the spindle will need to be accessed during balancing.
Refill, bleed and check for leaks
Close the radiator bleed point before refilling. Reopen both radiator valves, initially using the recorded lockshield setting if this is a like-for-like replacement. Refill a sealed system through the filling loop to the boiler manufacturer’s cold pressure recommendation. On an open-vented system, allow the feed tank to refill the circuit.
Bleed the radiator once the system has been refilled, starting with the lowest radiators and working upwards if the whole system was drained. Keep checking system pressure during this process, as bleeding releases air and can lower the pressure in a sealed system.
Dry every joint with a cloth, then inspect the radiator tail union and compression connection while the system is cold. Run the heating and inspect again as it warms. A small bead of water around a joint is a leak, not normal settling. Depressurise or drain as necessary before adjusting a leaking fitting.
Balance the radiator with the lockshield valve
Fitting the valve is only half the job. The lockshield setting determines how quickly water moves through that radiator. If it is fully open on every radiator, those nearest the boiler or pump can take more flow, leaving distant rooms slow to heat.
With the heating running and thermostatic valves fully open, begin with lockshields partly open rather than fully open. Radiators close to the boiler generally need less opening than those further away. Make small adjustments and allow time for the temperature to stabilise between changes.
A basic practical check is that the radiator becomes warm across its panel without racing ahead of the rest of the property. A more accurate balancing method measures the temperature of the flow and return pipes at each radiator and adjusts the lockshield to achieve the temperature drop specified for the system. The correct target can vary with boiler type, system design and installer settings, so avoid treating one figure as universal.
Once balanced, replace the lockshield cap. This protects the setting from casual adjustment and leaves the TRV or wheelhead valve to control day-to-day room temperature.
A carefully fitted lockshield valve should stay dry, accessible and correctly aligned for years. Take the extra minute to prepare the pipe and support the valve body while tightening – it is usually the difference between a clean installation and a return visit.