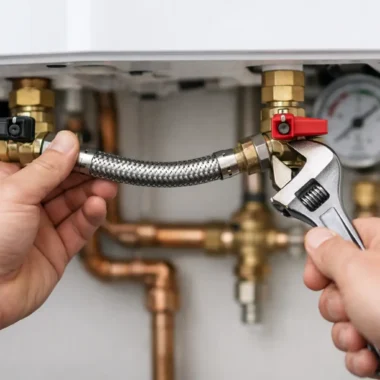
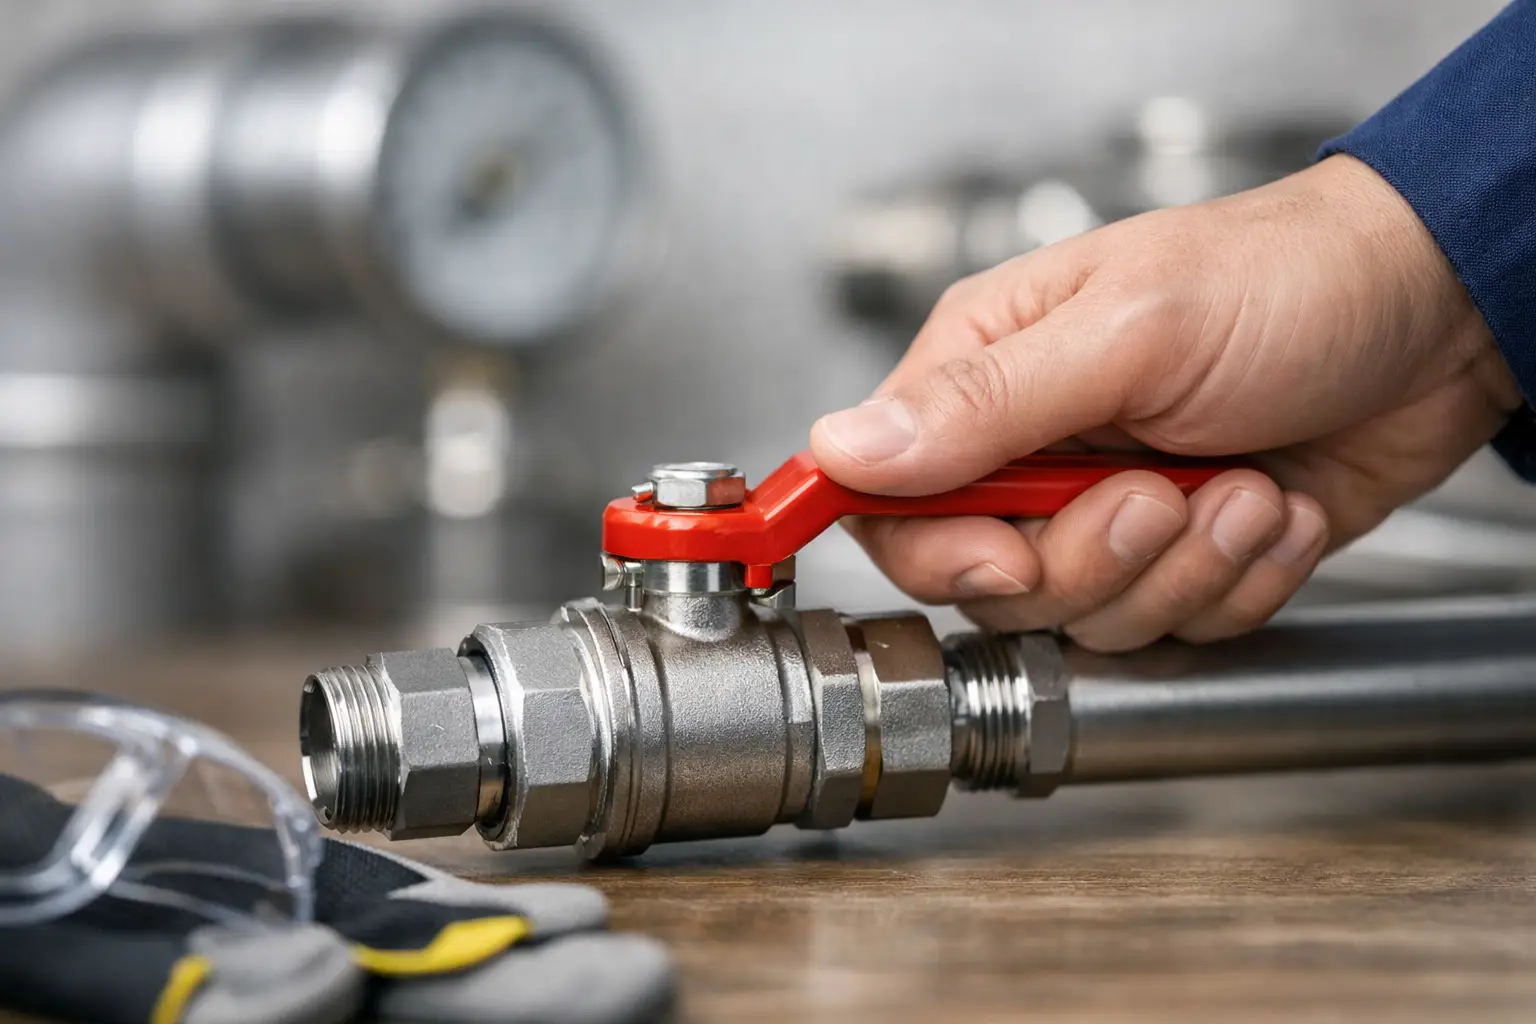
A red lever under a sink, beside a boiler or behind an appliance is often there for one reason: to stop the flow quickly without shutting down the whole property. Knowing how to use a ball valve red handle correctly prevents flooded cupboards, makes appliance changes safer and avoids unnecessary strain on older pipework.
A ball valve is normally simple to operate, but do not assume that every red handle controls water or that turning it will isolate the item you are working on. Trace the pipe, confirm the service and check the valve position before starting.
What a red-handled ball valve does
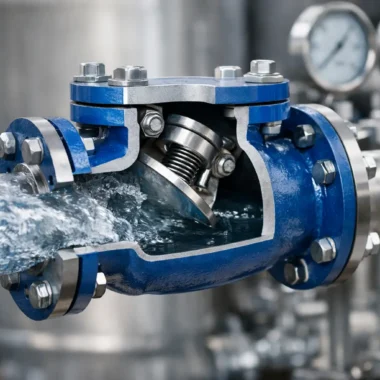
A ball valve uses a drilled metal ball inside the valve body. When the hole through the ball lines up with the pipe, water can pass through. Turn the handle by 90 degrees and the solid side of the ball blocks the flow.
The handle position is the useful visual check. On a standard lever-operated ball valve, a handle sitting in line with the pipe means the valve is open. A handle sitting across the pipe means it is closed. This applies whether the pipe runs horizontally, vertically or at an angle.
The red handle is not a guaranteed identifier of the service. Red is commonly used on valves serving hot water or heating pipework, but handle colours vary by manufacturer, installer and application. A red lever may also be used where colour has no particular meaning. Never identify a pipe solely by its handle colour.
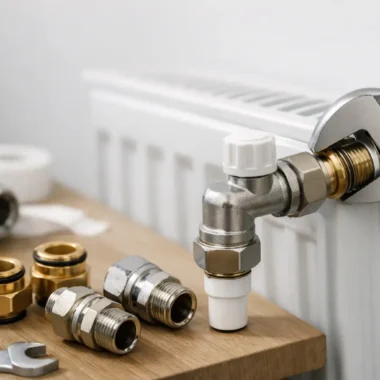
Ball valves are commonly fitted as appliance isolation valves, service valves on heating systems, main water isolators and shut-off points near pumps, filters or tanks. Most are quarter-turn valves, so they should not need repeated turns like a traditional stopcock or gate valve.
How to use a ball valve red handle
Before moving the handle, look at what is connected downstream. If the valve serves a washing machine, dishwasher or toilet, make sure the appliance is not actively filling. If it is close to electrical equipment, isolate the appliance at its fused spur or unplug it where safe to do so. Put a towel and a shallow tray below the valve if it is located inside a kitchen unit or bathroom vanity.
Confirm which pipe the valve isolates
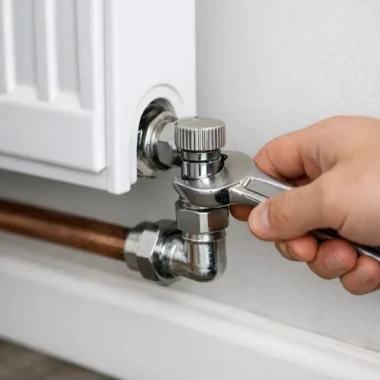
Follow the pipe on both sides of the valve. An appliance isolation valve is usually fitted immediately before the flexible hose or appliance connection. A valve on a heating circuit may isolate a radiator branch, pump, filter or section of system rather than the entire central heating supply.
If you need to work on a specific fitting, check that closing the valve will isolate that fitting. A valve may be installed on only the cold feed, for example, while a separate hot feed remains live. Twin-feed taps and mixer showers often require both supplies to be isolated.
For plumbing systems with several valves close together, label them once their purpose is confirmed. A simple tag marked “cold kitchen tap” or “washing machine feed” can save time on a future call-out or repair.
Turn the handle through a quarter turn
Grip the red lever and move it steadily through 90 degrees. If the handle started in line with the pipe, turn it until it is across the pipe to close the valve. If it started across the pipe, turn it until it is in line with the pipe to open it.
Do not use excessive force. A correctly functioning ball valve usually turns with firm hand pressure. Older valves can stiffen due to scale, corrosion or lack of use, particularly in hard-water areas and damp under-sink spaces. Forcing a seized valve with grips can damage the stem, crack a fitting or twist the connected pipe.
If the handle will not move, stop and assess the installation. You may need to isolate at an upstream stopcock or main isolation point before replacing the valve. On concealed, plastic or poorly supported pipework, this is a job where avoiding damage matters more than saving a few minutes.
Check that the flow has stopped
Closing the handle is not the final check. Open the tap, operate the appliance supply connection carefully or release pressure at the point you intend to work on. A small amount of residual water is normal, especially where pipework remains full between the valve and outlet.
For a washing machine or dishwasher valve, closing the supply and then briefly opening the appliance hose connection with a cloth ready will show whether the isolation is holding. For a tap feed, open the tap until the water stops. If water continues to run after a reasonable amount has drained, the valve may not be isolating fully or you may have shut the wrong supply.
On heating pipework, pressure and water can remain trapped between valves. Allow the system to cool before opening any connection. Do not loosen heating fittings while the boiler is firing or while pipework is hot.
Reopen the valve carefully after the work
Once the repair, hose replacement or appliance connection is complete, turn the handle back so it runs in line with the pipe. Open it gradually where practical, especially after replacing a flexible hose or compression fitting. This gives you time to check the connection rather than immediately pressurising a loose joint.
Inspect the valve body, stem, nuts and downstream connection for drips. Dry the area first, then run a finger around accessible joints or use dry tissue to reveal slow seepage. Check again after the appliance has filled or the tap has been used, as some leaks only show under normal pressure and movement.
Where ball valve handle position can be misleading
The in-line/open and cross-pipe/closed rule applies to standard two-port ball valves, which are the usual type found on domestic water and heating installations. However, access can make the position difficult to see. A valve may be behind a washing machine, inside a boiler cupboard or installed with the lever facing a wall.
Use the pipe direction, not the floor or wall, as your reference. On a vertical pipe, the handle will be vertical when open and horizontal when closed. On a horizontal pipe, the reverse is true. The question is always whether the handle follows the line of the pipe or crosses it.
Some valves have locking levers, removable handles or compact butterfly-style handles. These still operate on the same quarter-turn principle, but their markings can be less obvious. Look for OPEN and SHUT indicators if fitted, then verify by testing the water flow.
Do not confuse a ball valve with a stopcock. A stopcock normally has a round wheel handle and needs several turns to close. A red lever is more likely to be a ball valve, but the valve body and operation should confirm it.
Common problems with red-handled ball valves
A valve that turns but does not stop the flow may have a worn internal seal, debris caught inside the ball or damage from long-term use. It is not suitable as a reliable isolation point until replaced. Isolate the water supply elsewhere before disconnecting anything downstream.
A drip from the spindle, directly below the handle, can indicate a failing stem seal or packing arrangement. A slight seep may sometimes appear after a valve that has not moved for years is operated. Do not leave it unchecked in a cupboard or near flooring. Even a slow leak can cause cabinet damage and mould over time.
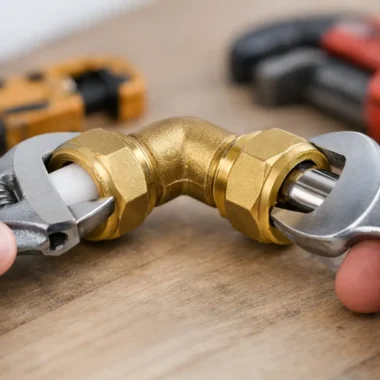
Leaks at compression nuts or threaded connections are separate from the valve mechanism. Avoid tightening fittings blindly, particularly on old copper pipe or plastic pipe connections. The cause could be a failed olive, damaged thread, poor alignment or movement in the pipework. The correct repair depends on the fitting type and whether the valve can be isolated and removed safely.
If a red-handled valve is on a gas pipe, do not operate it unless you are competent and authorised to do so. Handle colour does not prove a service type. Gas work, including diagnosing or altering gas isolation arrangements, must be carried out by a Gas Safe registered engineer.
Choosing a replacement valve
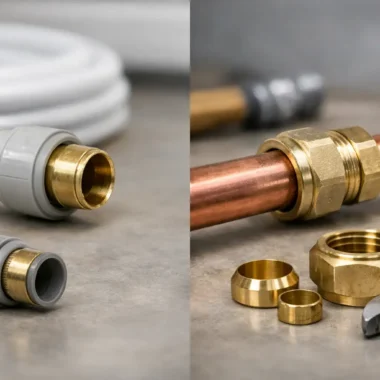
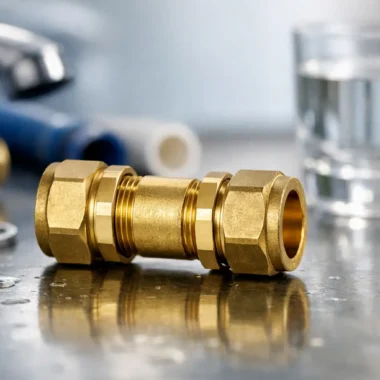
When replacing a faulty valve, match the connection type, pipe size and intended application. Common domestic options include compression ball valves for copper pipe, threaded brass ball valves, push-fit compatible service valves and full-bore valves where maintaining flow matters.
Check whether the valve is for potable water, heating water or another specified application. For drinking-water installations, suitable approved components may be required. Full-bore valves are useful on main runs and higher-flow supplies because the internal bore is closer to the pipe diameter, while reduced-bore valves can be adequate for many local isolation duties.
Also consider access. A good valve is of limited use if its lever cannot be reached once an appliance, basin pedestal or cupboard shelf is in place. Set the handle orientation during installation so it can complete its 90-degree movement without hitting a wall, pipe or appliance.
A clearly positioned, working isolation valve is one of the most useful small components in any plumbing system. Test accessible valves periodically, use the handle position to confirm their state, and replace any valve that sticks, leaks or fails to shut off properly before it is needed in a hurry.