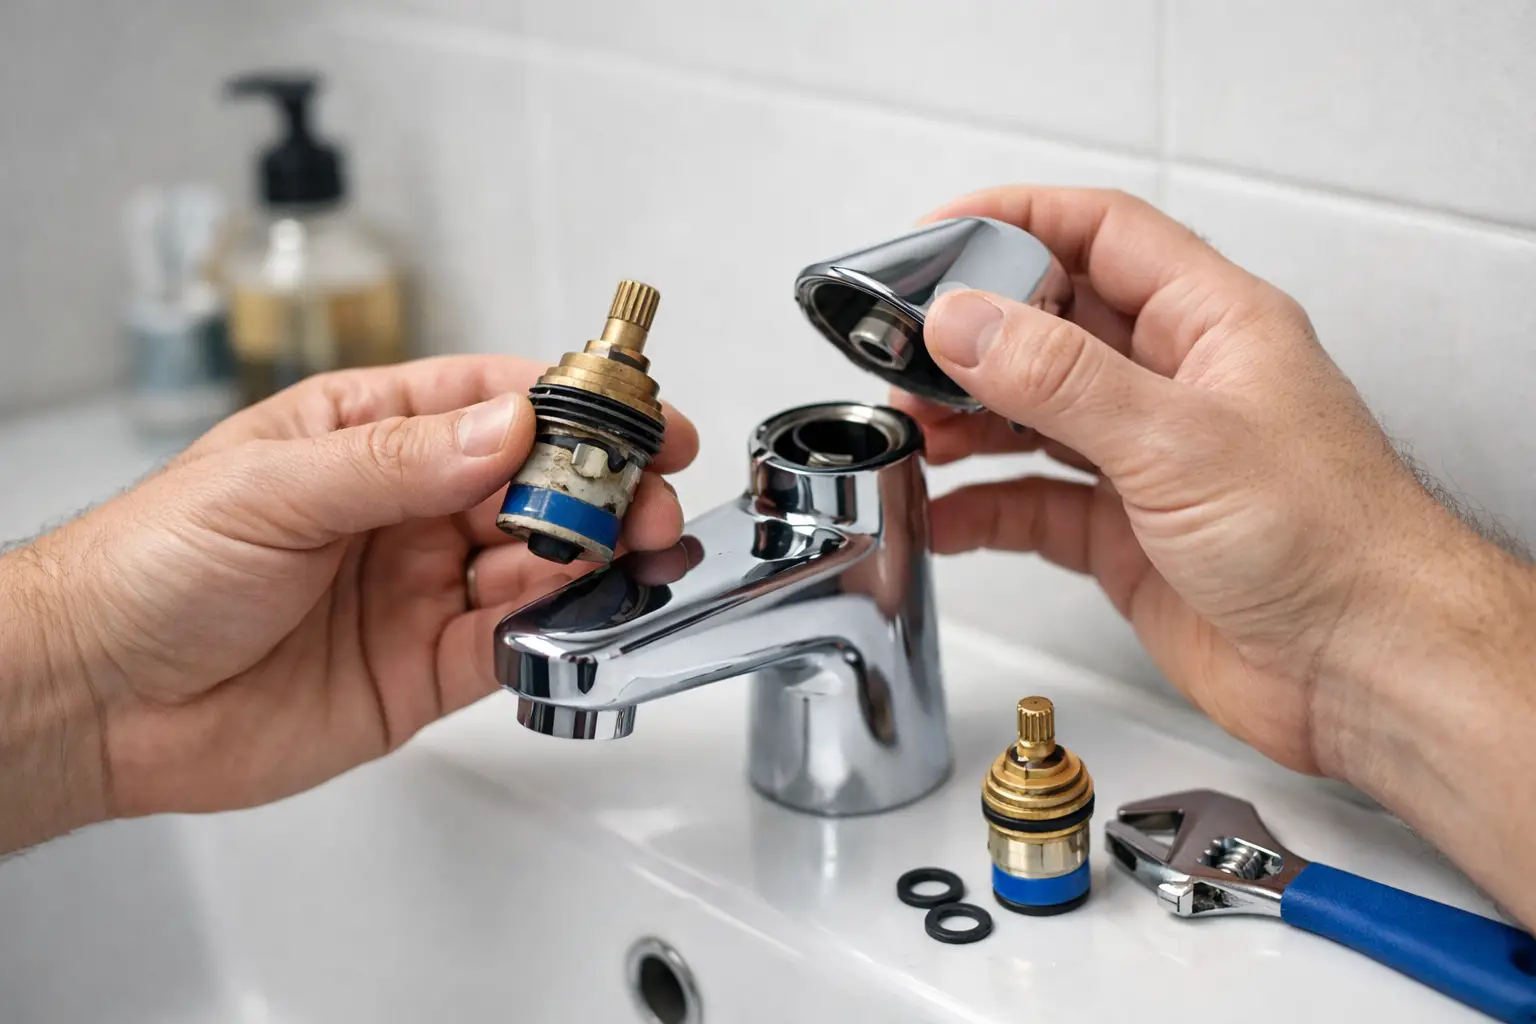
A dripping mixer tap is often blamed on a worn washer, but many modern kitchen, basin and bath taps use ceramic disc cartridges instead. Once the seals or ceramic discs inside the cartridge wear, the tap may drip, feel stiff, fail to regulate temperature properly or leak around the handle. Knowing how to replace tap cartridge components correctly saves repeated call-outs and avoids fitting a spare that looks right but does not match the tap body.
This is a straightforward repair for a competent DIYer or maintenance engineer, provided the water can be isolated and the replacement is accurately identified. The work itself is usually quick. Finding the right cartridge is the part that determines whether the job is finished first time.
Before you replace a tap cartridge
A cartridge is the internal valve assembly that controls water flow. A single-lever mixer generally uses one larger mixer cartridge, while a twin-handle ceramic disc tap usually has separate hot and cold valve cartridges or headworks. Although they can appear similar, cartridges vary by diameter, height, spline count, locating-pin arrangement, thread, rotation direction and opening turn.
Do not order a replacement based on the tap style alone. A 35 mm ceramic mixer cartridge, for example, is not automatically interchangeable with every 35 mm unit. The base profile and drive connection must also match. Likewise, quarter-turn ceramic valves are available in different spline counts and are commonly handed: hot valves often close clockwise, while cold valves often close anti-clockwise. That is common, not universal, so check the removed part rather than relying on colour or handle position.
Before starting, make sure the fault is actually within the tap. Water escaping from beneath a monobloc tap may be caused by failed O-rings, a loose retaining nut or damaged flexible tap connectors. A drip from the spout when the tap is fully closed is more likely to be a cartridge or valve issue.
Tools and parts you will need
For most jobs, you need an adjustable spanner, suitable Allen keys, flat and crosshead screwdrivers, a cloth, a small container and silicone plumber’s grease. A cartridge puller can help where a mixer cartridge has seized in the body, but avoid forcing it with grips if possible. Damaging the brass tap body can turn a simple repair into a replacement job.
You will also need the correct replacement cartridge or ceramic valve, plus any new O-rings supplied with it. Keep the old part until the replacement has been fitted and tested. It is the best reference for dimensions and location features if there is any doubt.
For a kitchen mixer with isolation valves on the flexible tails, access is normally under the sink. Basin taps may have isolators behind the pedestal or inside a vanity unit. Bath taps can be less convenient, particularly where pipework is boxed in. Allow time to locate the isolation point before removing any tap handles.
Isolate the water supply properly
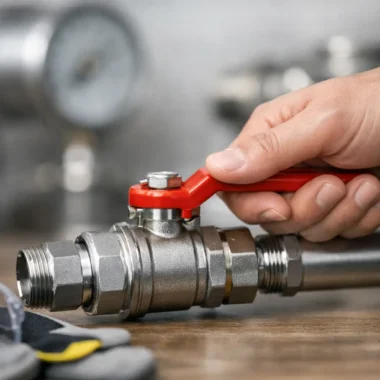
Turn off the local service valves on the hot and cold supplies where fitted. Use a flat screwdriver to turn the slot through 90 degrees so it is across the pipe, then open the tap to confirm the flow has stopped and release residual pressure.
If there are no local isolators, close the internal stopcock for the cold water supply. The hot side depends on the system. With a combi boiler, closing the cold mains supply normally stops both supplies to the mixer once pressure is relieved. With a vented cylinder system, the hot water may be fed from a cold-water storage cistern, so isolating the mains stopcock alone may not stop the hot flow. Isolate the relevant supply or use the appropriate valve arrangement for the property.
Put the plug in the basin or bath before removing small screws and caps. A cloth over chrome surfaces also prevents scratched finishes when using tools.
How to replace a tap cartridge step by step
Remove the handle and trim
Most handles are held by a grub screw hidden beneath a coloured hot/cold indicator, a decorative cap or at the rear of a lever. Carefully lift the cap with a small flat screwdriver, then loosen the screw with the correct Allen key. Do not fully remove a grub screw unless necessary, as it is easily lost.
Lift off the handle. On a lever mixer, you may then need to unscrew a shroud or retaining cover by hand. If it is tight with limescale, wrap it in a cloth and apply gentle pressure. Avoid pipe grips directly on visible chrome.
Twin-handle taps may have a cover plate and a retaining nut around each valve. Remove these in order and lay the parts out as they came off. This makes reassembly quicker, especially where hot and cold handles have different adaptors.
Remove the retaining nut and old cartridge
With the cartridge exposed, identify how it is secured. A mixer cartridge is commonly held by a large brass retaining nut. Ceramic tap valves may be threaded directly into the body or retained by a nut. Use a correctly sized spanner or deep socket where access allows.
Turn anticlockwise to release the retaining nut, then lift the cartridge straight out. If it resists, check that every retaining component has been removed. Limescale can hold the cartridge firmly, but excessive twisting can damage the locating tabs or tap body. Apply controlled upward pressure with a cartridge puller if required.
Inspect the removed unit before cleaning anything. Measure its diameter and overall height, count splines where applicable and note the shape of the base. Photographing it beside a ruler is useful when matching a replacement. Also check the tap body for broken plastic locating lugs, debris or damaged threads.
Clean the tap body and fit the replacement
Wipe the cartridge chamber with a clean cloth. Remove loose scale carefully, but do not score the seating faces with a screwdriver or abrasive tool. Check that old O-rings have not remained in the body.
Apply a very light coating of silicone plumber’s grease to new rubber O-rings if required. Do not use petroleum-based grease, as it can cause rubber seals to swell or deteriorate. Position the cartridge so its locating pins engage with the matching holes or slots in the tap body. It should sit squarely without being forced.
Refit the retaining nut and tighten it firmly but sensibly. Overtightening can distort a plastic cartridge, damage threads or make the next service unnecessarily difficult. Refit the shroud, handle adaptor, handle and decorative cap in the reverse order.
Test the repair before leaving the job
Close the tap, then reopen the isolation valves gradually. Check beneath the sink, basin or bath for leaks around the flexible connectors and tap body. Run the tap on cold, hot and mixed settings. For a single-lever mixer, confirm that the handle moves smoothly and delivers the expected temperature range.
A brief sputter is normal as air clears from the pipework. Remove and rinse the aerator if the flow is uneven after the work, as disturbed debris can collect in the outlet screen.
If the tap still drips, do not immediately tighten the cartridge further. First confirm that the replacement is the correct type and is seated on its locating pins. Persistent dripping can also indicate a scored valve seat, damaged tap body or a cartridge supplied with the wrong opening direction. On older or unbranded taps, a full tap replacement can be more economical than repeated attempts to source an obsolete valve.
Choosing the correct replacement cartridge
The most reliable method is to remove the old cartridge and match it by specification. Record the tap brand and model if known, but use physical details as the final check. For ceramic disc valves, establish whether it is a 1/2 inch or 3/4 inch valve, the spline count, the total height and whether it is hot or cold handed. For monobloc mixers, check diameter, height, base lug layout and stem profile.
Cartridge quality matters in hard-water areas. Better ceramic disc units and correctly specified seals tend to give a longer service life, but no cartridge will perform well if grit is regularly entering the tap. Where debris is a known issue after plumbing work, flush pipework before fitting sensitive tap components.
Keep the packaging or take clear measurements before ordering. Mepstock’s specification-led range makes it easier to source replacement plumbing components when you can identify the size, connection and application rather than searching by appearance alone.
A tap cartridge replacement is a small repair, but accuracy is what keeps it small. Isolate the supplies, retain the old valve for comparison and fit only a cartridge that matches every relevant detail. That approach gives you the best chance of a clean repair, a dry cupboard and a tap that operates as it should.