A radiator tail is a small fitting, but getting it wrong can stop a straightforward valve change in its tracks. If you need to know how to choose radiator tails, start by identifying the radiator tapping and the valve connection already in front of you. A tail that looks broadly right can still leave you with mismatched threads, a valve that will not union up, or pipework sitting under strain.
For most modern UK installations, the answer is simple: a standard 1/2 BSP radiator valve tail is normally required. The exceptions matter, though. Older radiators, towel rails, decorative column radiators and non-standard valve sets can use different thread arrangements, lengths or sealing methods. Measure first, order once.
How to choose radiator tails: check the radiator thread
The radiator-side thread is the first specification to establish. The vast majority of UK panel radiators have 1/2 BSP female tappings, accepting a 1/2 BSP male radiator tail. This applies to common steel panel radiators and many standard towel rails.
Do not assume every radiator follows that pattern. Older cast-iron radiators and some specialist or imported products may use larger or different thread sizes. A radiator may also have a reducing bush fitted, which can make the visible opening misleading. If there is an existing tail in place, remove it only after isolating and draining the relevant section of the system, then check its thread specification or compare it carefully with the replacement required.
BSP sizing is a nominal pipe thread standard, not a direct measurement of the outside diameter. Measuring the opening with a tape measure and selecting the nearest size is a common cause of ordering errors. Where the radiator manufacturer provides a tapping specification, use that. Otherwise, identify the existing fitting by its thread rather than its apparent width.
Standard tails, reducers and extension tails
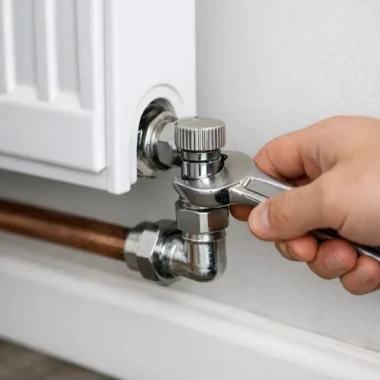
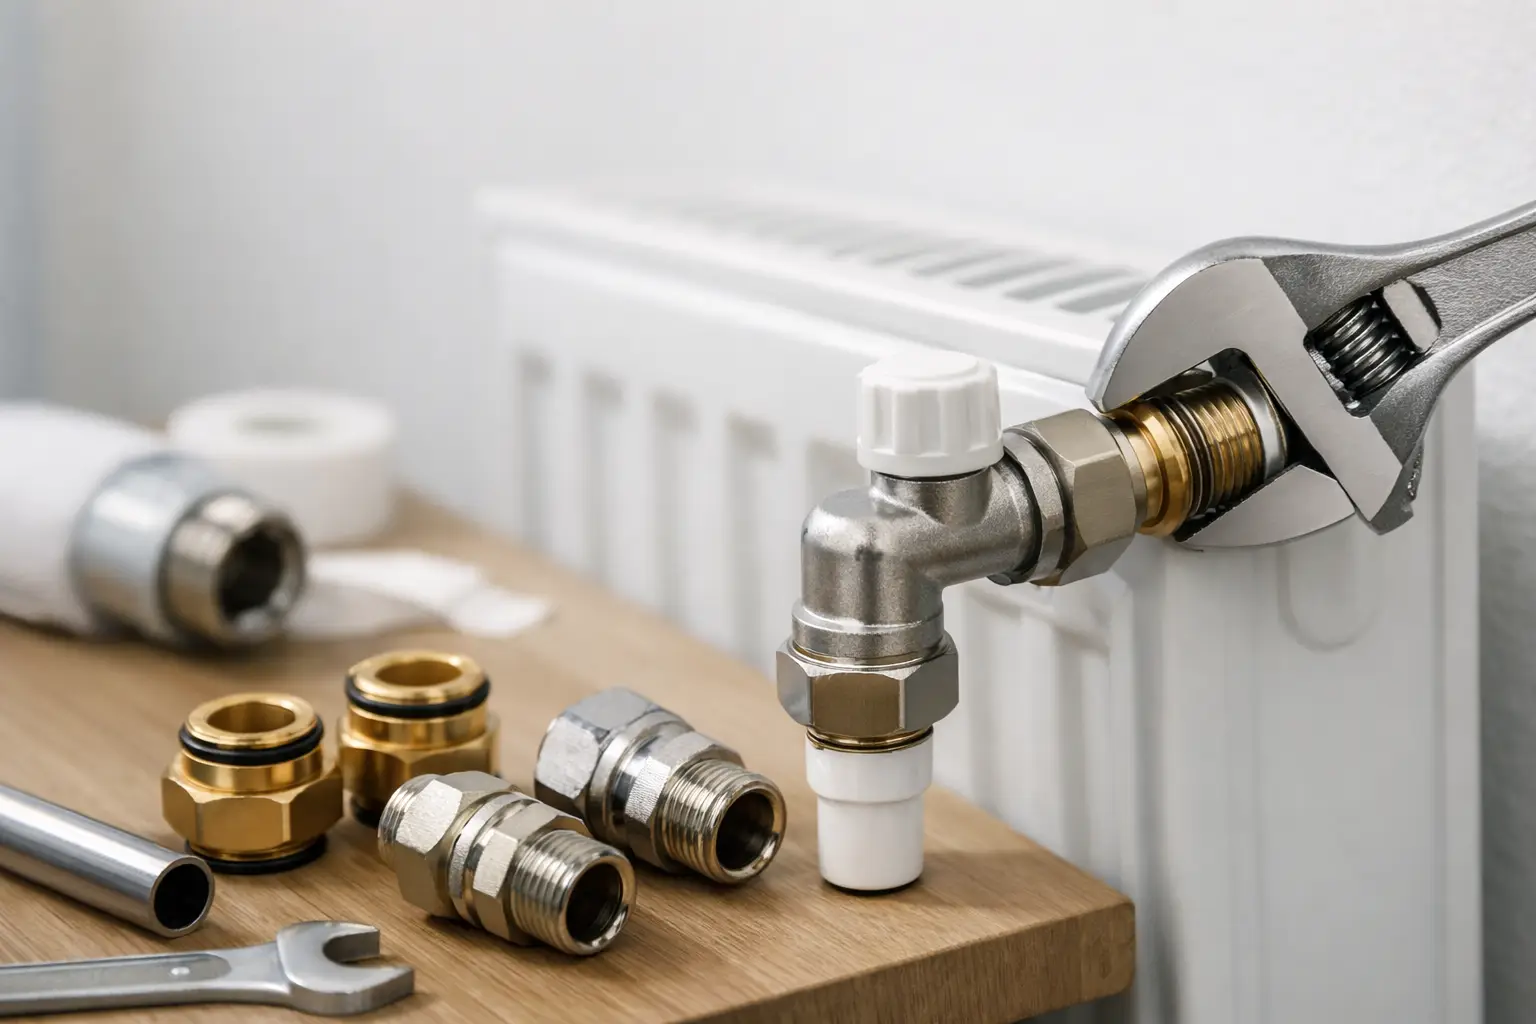
A standard radiator tail connects the radiator tapping to the union connection on the radiator valve. It is usually supplied with a matching thermostatic radiator valve or lockshield, and the valve body and tail are designed to work as a pair.
A reducing bush is different. It adapts a larger radiator tapping to a smaller thread and is more likely to be encountered on older or specialist radiators. An extension tail is also different again: it provides extra reach where the valve cannot sit close enough to the radiator, often because of pipe position, skirting, boxing or the depth of the radiator bracket.
Use an extension only where it solves a real alignment problem. Adding unnecessary length creates more joints, makes the installation look untidy and can increase leverage on the radiator connection. The valve should meet the tail squarely, without being pulled sideways by the pipework.
Match the tail to the valve, not just the radiator
The radiator-side thread may be standard, but the valve connection is just as important. A radiator tail is part of a valve assembly. The union nut, olive arrangement and tail profile must match the valve manufacturer and model.
In practical terms, if you are fitting new valves, use the tails supplied with those valves wherever possible. Mixing an old tail with a new valve body because both appear to have a similar union can lead to a poor seal. Thread pitch, seating face, cone shape and nut dimensions can vary between products, even where the parts seem interchangeable at first glance.
This is especially relevant when replacing only a thermostatic radiator valve head or valve body on an existing system. If the existing tail and union are in sound condition and the replacement valve is confirmed compatible, it may be possible to retain them. If compatibility is uncertain, replace the complete valve and tail assembly rather than relying on a close visual match.
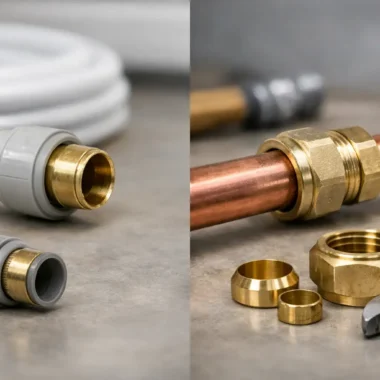
The pipe side of the valve is a separate decision. Most domestic radiator valves are available with 15mm compression connections for copper pipe. Other options may suit particular jobs, including 10mm microbore compression valves, 15mm push-fit connections, or valves intended for plastic pipe with the correct pipe insert. Choose the valve connection to suit the pipework, then ensure its supplied tail suits the radiator.
Choose the right orientation and profile
Radiator tails themselves are generally straight, but the valve arrangement determines how the installation sits. Straight valves suit pipework rising from the floor or dropping from above. Angled valves suit pipework coming from the wall. Corner valves can be useful where pipework enters from the wall at a right angle to the radiator connection.
Before ordering, look at both sides of the radiator. Check where the flow and return pipes arrive, whether the radiator is close to a wall, and whether a thermostatic head will have enough clearance to sense room air. A TRV head trapped behind curtains, furniture or a radiator cover will not control the room temperature accurately.
For systems with a heat pump or low-temperature boiler setup, valve and tail selection does not usually change the radiator thread requirement. However, correct balancing and unrestricted flow become more significant because the system operates with a smaller temperature difference. Avoid undersized pipe connections and poor valve positioning that could restrict circulation.
Check tail length before committing
A standard tail is usually adequate when the valve sits naturally beside the radiator. Problems arise when the new valve body is deeper, the radiator has unusually thick side panels, or existing pipes have been positioned tightly against a wall.
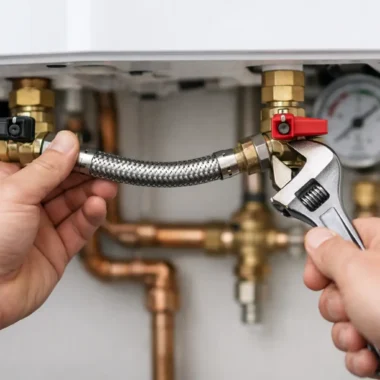
Dry-fit the components where possible. Hold the valve beside the radiator connection and assess whether the union nut can engage straight onto the tail. The valve should not need to be forced into position, and the compression joint should not be used to pull misaligned pipe into place. Compression fittings seal best when the pipe is cut square, fully inserted and properly supported.
If extra reach is needed, select a purpose-made extension tail with the correct thread and suitable finish. Do not stack multiple adaptors to make up distance. Every additional threaded joint is another potential leak point and another part to service later.
Material and finish still matter
Most radiator tails are brass, often nickel-plated to match chrome or nickel radiator valves. Brass offers reliable thread strength and corrosion resistance for sealed central-heating systems. The finish is largely an appearance choice, but matching it to exposed valves, pipe shrouds and decorative pipework gives a neater result.
For concealed connections, plain brass components are usually perfectly suitable. For visible towel rails, designer radiators or bathroom installations, check whether the valve set uses chrome, anthracite, black or another finish before choosing extensions or replacement tails. A technically correct fitting that clashes with the valve set is an avoidable snag on a finished job.
Do not confuse radiator tails with potable water fittings. They are intended for heating circuits, not for making drinking-water connections. Where any fitting is being selected for a water supply, use components specified for that application, including WRAS-approved products where required.
Fit and seal the tail correctly
A good tail choice can still leak if it is installed carelessly. Drain or isolate the system as required, clean the radiator tapping and inspect the threads for corrosion, old sealant or damage. A damaged tapping may need attention before a new tail is fitted.
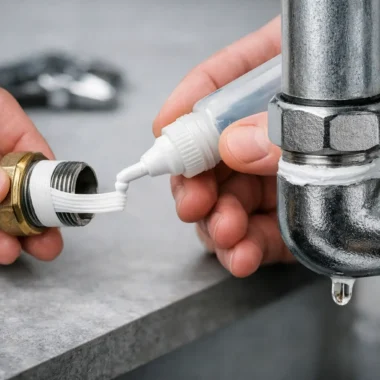
Apply the sealing method specified by the tail or radiator manufacturer. Traditional threaded tails are commonly installed with an appropriate thread sealant or PTFE tape, while some designs use an O-ring or washer arrangement. These are not interchangeable approaches. Adding excessive tape to a fitting designed to seal on a washer can prevent it seating correctly; fitting a plain threaded tail dry can result in a slow leak.
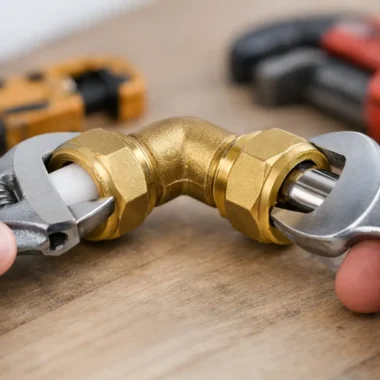
Start the tail by hand to avoid cross-threading, then tighten with a suitable spanner. Do not overtighten. Radiator tappings, particularly in aluminium radiators or older cast sections, can be damaged by excessive force. Once the valve is connected, refill, vent the radiator, restore pressure where applicable and inspect every joint while the system is cold and again as it warms up.
A quick buying check before you order
Confirm these five points before purchasing: the radiator tapping size, the valve make and model, the pipe connection size, the required valve orientation, and whether standard or extension tails are needed. If you are replacing an existing setup, take clear measurements and photographs before removing anything.
The smallest fitting on the job should not be the part that holds it up. Match the tail to the radiator and its valve as a complete connection, keep the pipework aligned, and you will have a joint that is easier to fit, easier to service and far less likely to leak when the heating comes back on.